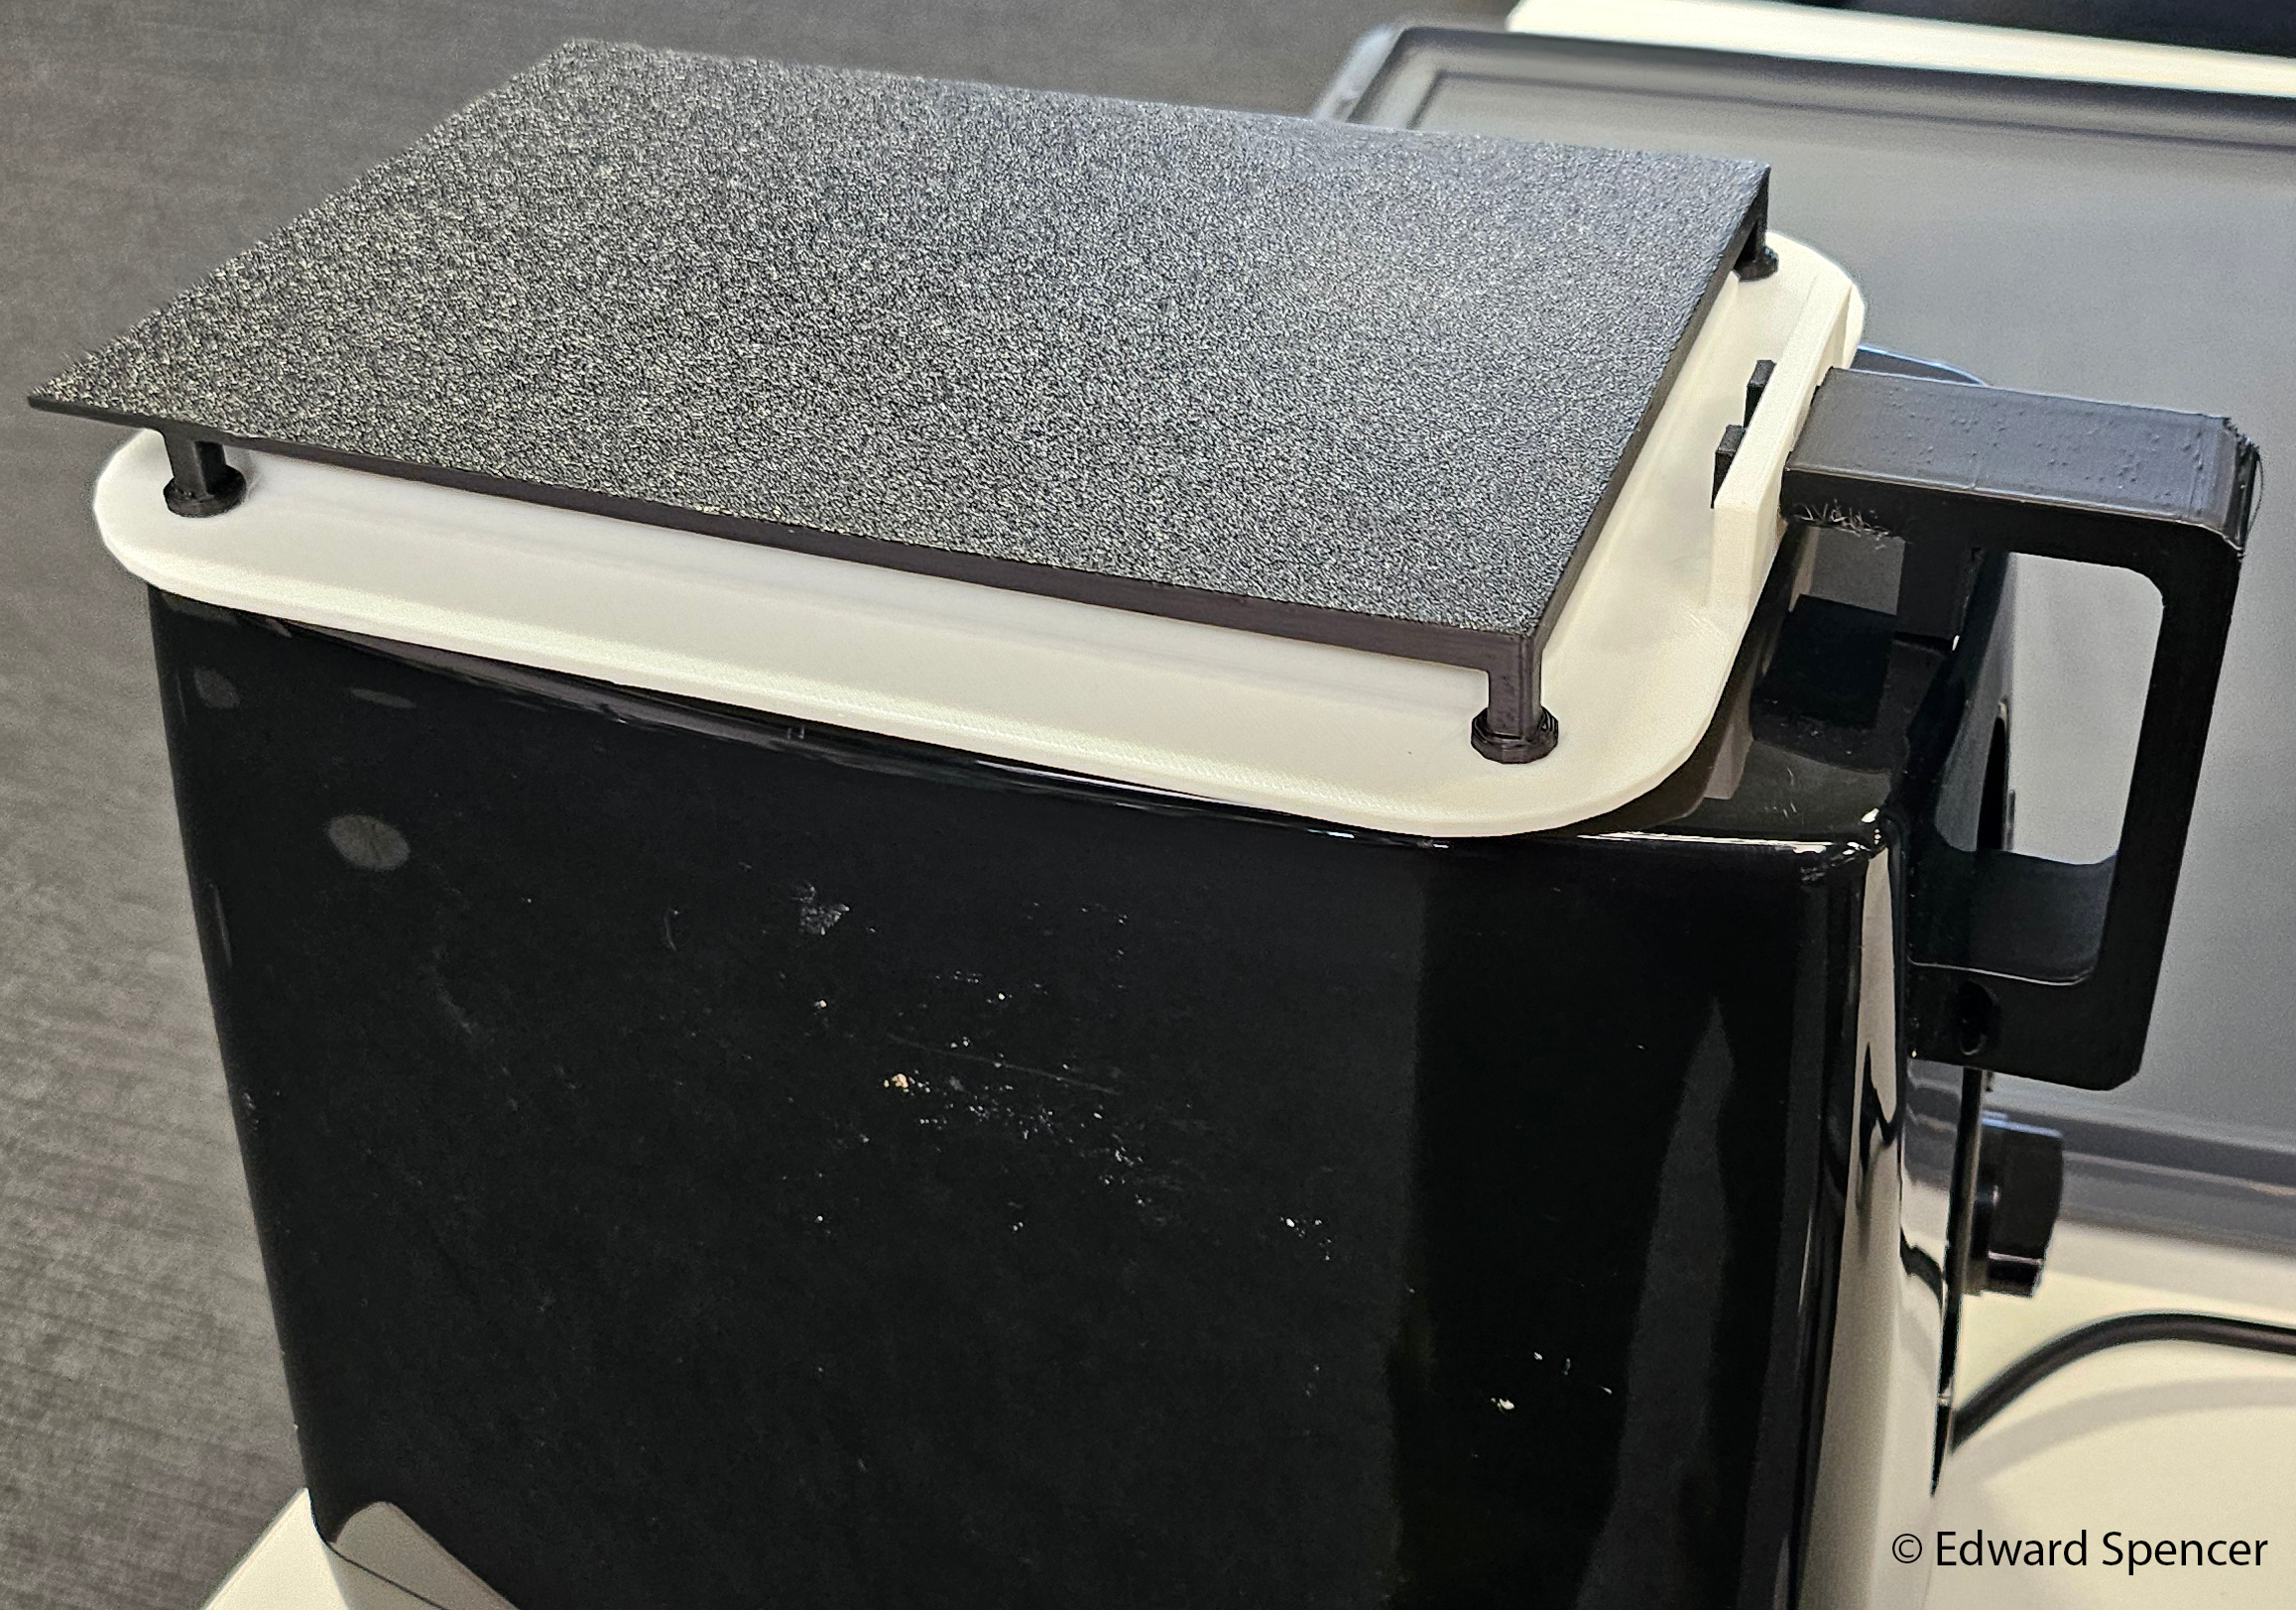
This project was completed with a team as part of a 1st year module for my university course where we had to reverse engineer an existing product and develop an improvement for it. This improvement could be a modification to the existing product or something which attaches to or around the product.
Note:
I worked on this project as part of a group but this article focuses primarily on the parts which I directly contributed to. Other team members focused on other elements such as research and time planning.
My group chose to reverse engineer a toaster. We started by identifying possible issues which people could have with the toaster and what improvements would fix the issue. These different improvements were then ranked into great, reasonable and poor some examples of these are shown below.
Great Improvements
- Over heating protection
- Toasting finished alarm
Reasonable Improvements
- Timer countdown
- Child lock
Poor Improvements
- Voice assistant integration
We chose to create a child lock with elements of over heating protection allow our improvement to be dual purpose.
After deciding what improvement we wanted to make we assigned each team member a role / task which they would be primarily focusing there time on. I was assigned the role of CAD engineer which meant I was the main member would be developing the 3D computer model of both the toaster itself and designing the model for the child lock.
In order to develop the child lock we needed to disassemble and reverse engineer the toaster and while it was not necessary to completely reverse engineer the toaster to create the child lock as it did not modify any of the internal workings of the toaster. It was important to know how the toasting sequence was started so that we could prevent the toaster from being turned on while the child lock was attached. We also needed to know how the air flowed through the toaster as to not inhibit the adequate cooling of the heating elements it also allowed us to determine all the sources of heat in the toaster so that we could produce a child lock which could be applied to the toaster after use to prevent young children putting their fingers into the toaster slots and getting burnt.
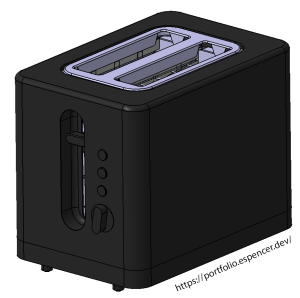
Figure 1: An Image showing the 3D model of the toaster*
After we disassembled the toaster I created a CAD model (shown in Figure 1) including the main components in CATIA V5 as this was the CAD software which was being taught as part of this module. During the creation of the model I used the mechanical part design workbench to model all of the injection moulded parts using simple pad and pocket operations. The sheet metal workbench was used to model all of the metal components, as they were all bent sheet metal, which allowed me to use the dedicated tools to create the flanges so that the bends and their corresponding positions could be calculated automatically. I then used the assembly design workbench to constrain all of the components into a single assembly.
After creating a 3D model of the toaster I designed the child lock itself (shown in Figure 2) which attached to the slider of the toaster to prevent it from engaging the mechanism of the toaster and prevents the child lock from being applied while the toaster is active (preventing fire) as it cannot attach to the slider while the slider is in the lower position. It also covers the slots of the toaster which prevents fingers and metal cutlery from touching the heating elements. The top cover is comprised of 2 pieces, a lower piece which allows heat to pass through, and an upper piece which prevents liquids from entering the toaster.
Figure 2: An exploded view of the 3D model for the toaster cover*
We then 3D printed the cover out of PLA for prototyping and testing unfortunately I underestimated the amount of heat which would rise out of the toaster and therefore underestimated the temperatures which the cover would have to withstand leading to it deforming. It did not get hot enough to completely melt the PLA which has a melting point of approximately 200 °C but it did significantly soften the material increasing the risk of potential burns.
Other than the heat management issues the cover did function as intended in that it prevented liquid poured on top of toaster from entering the slot and causing an electrical short. It also does prevent fingers and cutlery from being stuck into the toaster. However if we were to put the cover into production and sell it to the public we would change to a material with a higher melting point such as aluminium.
The finished toaster cover prototype which acts as both a child lock and a cover to prevent liquids from being spilt into the toaster was showcased at Innovation Fest 2025. This module also required me to produce an article for LinkedIn which is shown below in Figure 4.
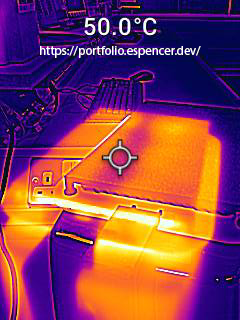
Figure 3: The heat experienced by the toaster cover after the toaster has been used captured with a thermal camera.
Figure 4: Post linking to LinkedIn Article
*Disclaimer:
The reverse engineering performed as part of this module was done legally for educational purposes only. The images of the model shown in Figure 1 does NOT contain all of the elements required to reproduce a functional version of the original product and contain some inaccurate dimensions. Furthermore, the 3D model shown in Figure 2 is comprised ONLY of parts related to the toaster cover (NOT the toaster itself) and also includes inaccurate dimensions.